ability to move the user from one site to the other,
one page to the other on the same site, one spot
on the one page to another. This is done with the use of the
a anchor tag. The accessory href introduces the new
address; the link moniker is what one is free to style for
better navigation. Link is also used in the head section
tospecifythe type of style sheet.
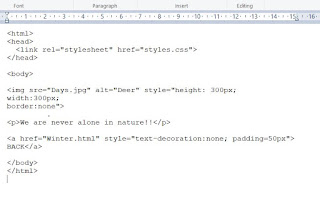
Below, I have taken yesterday's Winter code and added a link
to a second page, using the Snowboarder image (from the Windows
keyboard set) as the clickable element. Once on the second page,
one returns to the first with the Back link. I have removed the underline
form the Back ,which appears by default,
as does the arrow changing to a hand when one approaches...etc
I am now using two html pages:
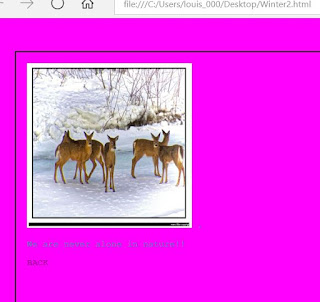
The result:
* * *
I'll concede it: that magenta background is a little much; but at this
point the Web page is just starting to be defined, and we see clearly
what is going on.
Wanting the Snowboarder icon to light up when hovered over forced
me to get ahead of myself, and use the class construct. This is because of
how priorities are ordered in HTML/CSS. The styles sheet has priority over
inline styling unless the latter uses the Style construct. Since hover gets defined
in the style sheet, I had to identify the Snowboarder as an image used as a link,
hence of class lk. It was possible to just create a Javascript for onhover, but
I really want this to be true for all images used as links, if there are any!
This is why style sheets are so useful!!


No comments:
Post a Comment