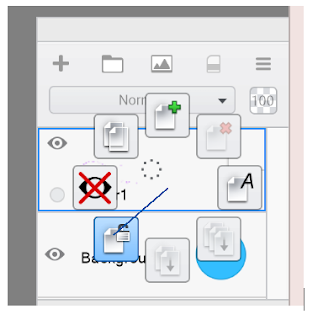
Finding my way around the Sketchbook interface (with help from Bing/Chat).
- To set the canvas size, go under Image to Canvas:
- To position the canvas on the screen: a mouse wheel-roll will alter the apparent
size of the canvas. One nudges the canvas here and there, depending on the side
of the canvas on which one places the mouse. Below, nudging to the right:
- Locking opacity: the checkered lock icon, when closed, locks in the opacity
of the layer.
- To assign a background color: it is white by default, one can click within the background
layer to choose a color.
- The predictive stroke tool creates a steadier line. At four, one can draw a line with
one's finger.
- The steady stroke tool, at a high setting, creates a response lag that makes drawing a
long line easier.
- Steady stroke, at a low setting, makes drawing detail more easy:
From Perplexity:
Worked on Synfig, this afternoon; learning to switch between images but not
with the aid of a Switch group. Rather, one merely references the z-range order
from the properties panel. Below, from my shapes Group, z-range position 2 is the
blue triangle, which appears in back of the other shapes because it is lower in the layers
panel .
This is going to prove a very useful technique. The image before the waypoint ia a duplicate
of the previous keyframe; the image after, a duplicate of the new image. One can transform
things on the new image, and turn back to the original...


.PNG)
.PNG)


No comments:
Post a Comment